An emergency leak online repair solution checklist converts a chaotic leak event into a controlled sequence: stabilise the area, triage the leak, mobilise the right crew, seal the system live, then verify — in that order, with a named owner for every step. On pressurised hydrocarbon, steam and chemical systems, that sequence is what keeps people safe and the plant running.
This checklist is written for shift supervisors, plant HSE officers, process engineers and maintenance planners who must act in the first minutes, long before any specialist contractor reaches the gate. It gives you a timed response protocol from minute zero to close-out, a responsibility matrix, an isolate-versus-seal decision tree, the evidence to collect before injection starts, and the verification records you need afterwards.
What Is an Emergency Leak Online Repair Solution Checklist?
A live-leak checklist is a documented, time-boxed procedure for responding to a leak on an in-service pressurised system without depressurising it. It defines who does what in the first ten minutes, how the leak is classified, when isolation becomes mandatory rather than optional, what the sealing contractor must be told, and what proof is required before the line is returned to normal service.
It is not the same thing as a method statement. A method statement describes how a specific repair will be executed; the checklist is the decision framework that runs before and around that method statement. According to online leak sealing technology and methods documentation, the difference between a two-hour seal and a twelve-hour shutdown is almost always made in the first thirty minutes, not by the craftsmanship of the technician.
Step 1 — Minute 0 to 10: First Response Actions
The priority order is fixed: people, then product, then production. Nobody seals anything until the area is defensible. Work through these actions in sequence and record the time of each one, because that log becomes part of the incident file.
- Raise the alarm and account for people. Notify the control room by radio, state the exact location, the fluid and whether anyone is in the affected area. Muster check for the unit.
- Define the exclusion zone. Establish a hot zone based on the direction of vapour travel, not on the visual size of the spray. Wind direction at the time of discovery decides the boundary.
- Control ignition sources. Confirm that hot work permits in the area are suspended, non-essential vehicles are stopped, and mobile phone use is restricted near hydrocarbon releases.
- Start gas monitoring. Portable detectors for LEL and, where applicable, H₂S and benzene. Log readings at fixed intervals rather than continuously watching the number.
- Do not attempt a field fix. No tape, no cloth wrapping, no wooden plug, no hammering on a live component. A wedge driven into a pressurised hydrocarbon leak can turn a small spray into a catastrophic release.
- Capture the leak signature. Photograph or video the leak from a safe stand-off distance, note spray angle, colour, whether it is liquid, vapour or two-phase, and estimate the rate by comparing against a known reference such as a drip count or the wetting pattern on adjacent pipework.
- Collect the process data. Operating pressure, operating temperature, line size and schedule, fluid composition and the last recorded wall thickness for that location.
- Escalate. Shift supervisor informs the plant manager and the process engineer on call. If the leak is on a hydrocarbon line within a congested unit, escalate immediately rather than waiting for the next shift meeting.

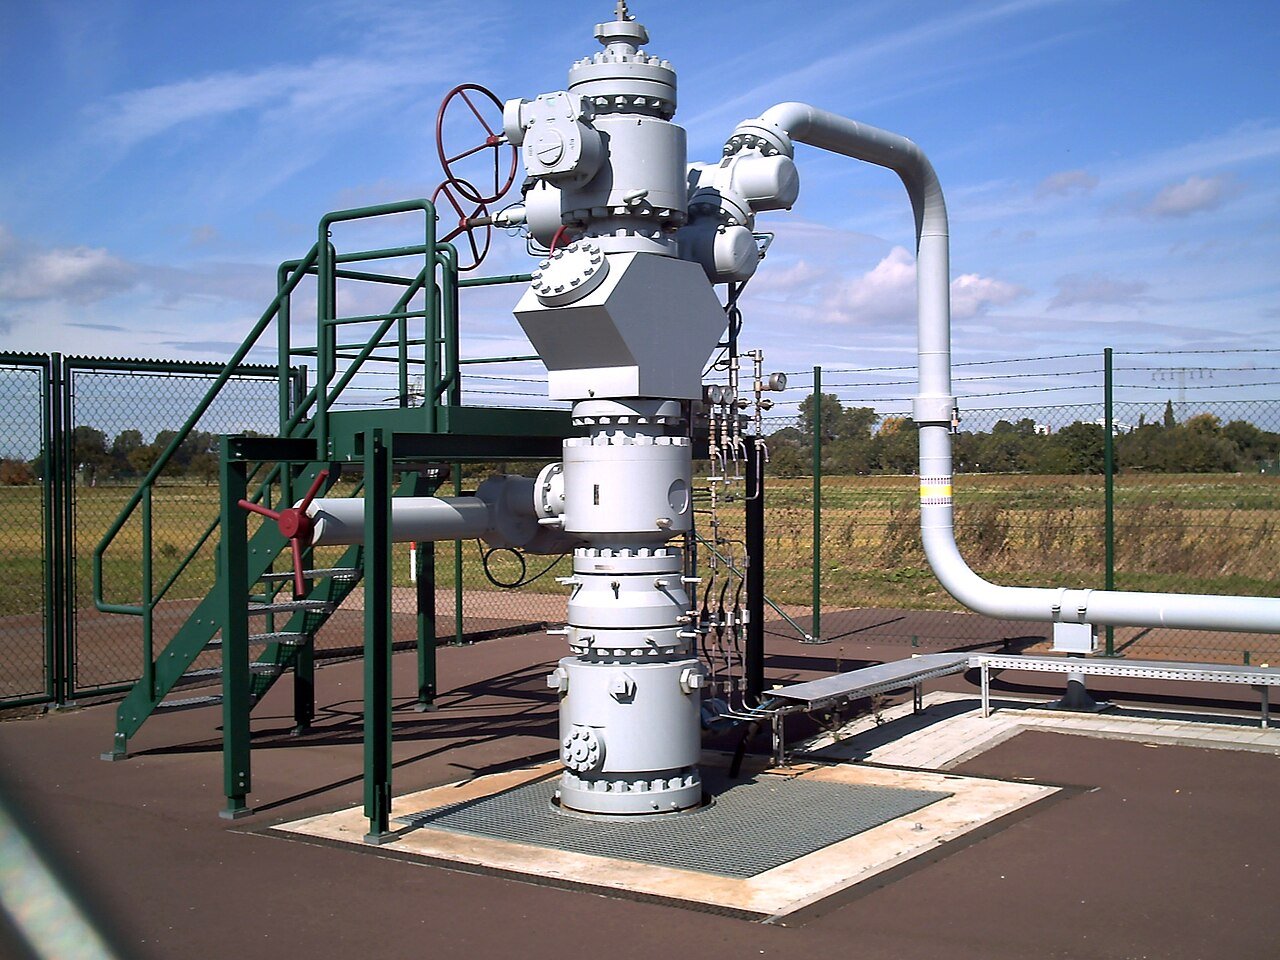
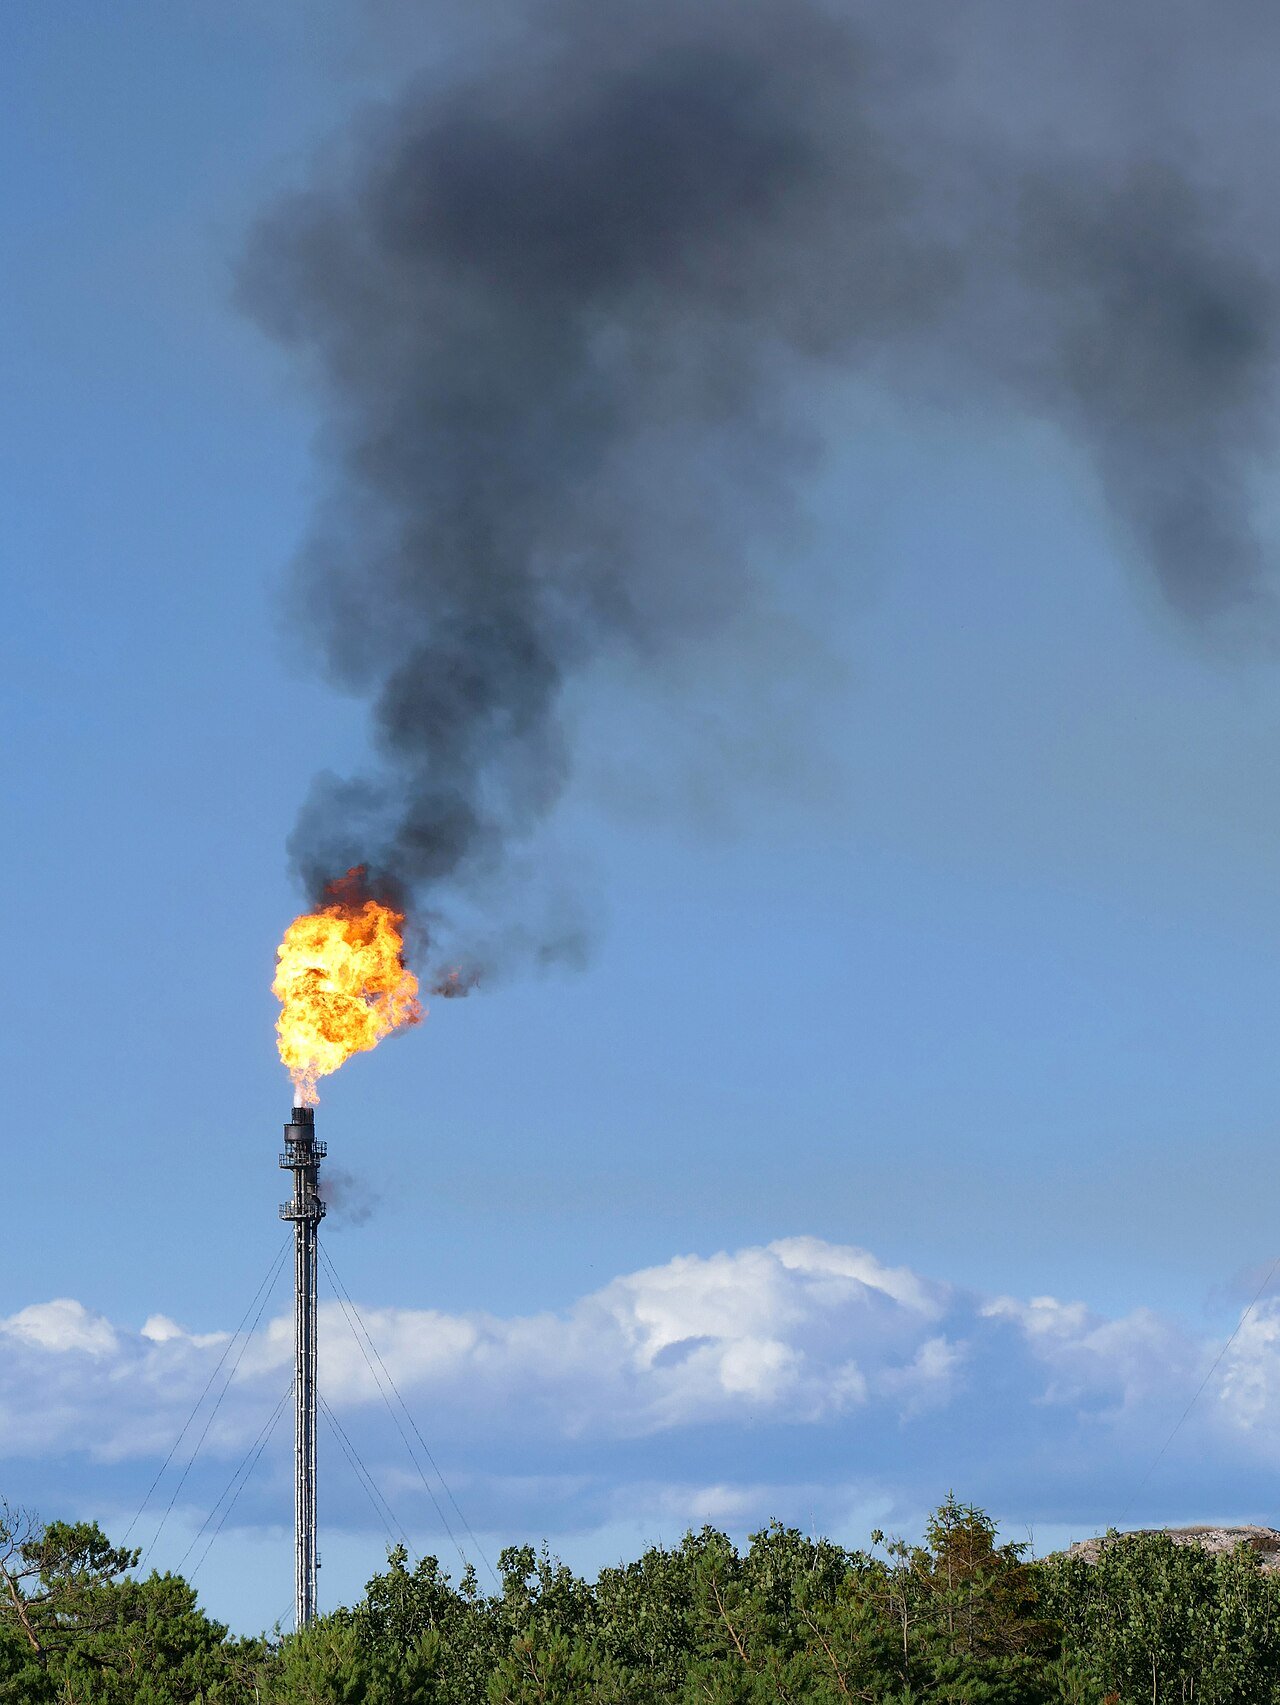
Wellhead and valve assemblies like this one are high-consequence leak points — the checklist starts with containment and exclusion, never with a field repair attempt.
Step 2 — Minute 10 to 30: Triage and Leak Classification
Triage answers three questions in parallel: is this immediately life-threatening, can the system be isolated at all, and which repair family is technically feasible. Classification uses observable facts, not opinions.
- Service class. Hydrocarbon gas, hydrocarbon liquid, sour service with H₂S, steam, amine, acid, caustic, ammonia, or utility water. Sour and toxic services narrow the options sharply.
- Pressure band. Low pressure below 10 bar, medium 10–40 bar, high 40–100 bar, and above 100 bar where every clamp becomes a bespoke engineering item.
- Temperature band. Ambient, up to 200 °C, 200–400 °C, and above 400 °C where standard elastomeric sealants are irrelevant and graphite-based systems apply.
- Leak geometry. Pinhole, crack, gasket face, flange leak online sealing candidates such as ring joints and raised faces, valve online leak sealing candidates such as glands and bonnets, body wall thinning, or a weld toe defect.
- Structural condition. Is the pipe wall still carrying load, or is the leak a symptom of generalised wall loss? A clamp contains a leak; it does not restore a failed pressure boundary.
- Access. Can a technician physically reach the point with an injection gun at the required stand-off, with a clear escape route, and with lighting at night?
Two of these factors are stop conditions. If the leak is on a high-pressure hydrocarbon service and the pipe wall has lost structural integrity, or if the leak is impinging on adjacent equipment or a support, the answer is isolation, not online sealing. If the fluid is toxic or highly corrosive and the exclusion zone cannot hold, the answer is also isolation.
Step 3 — Minute 30 to 60: Stabilisation and Boundary Control
Stabilisation buys time. In most cases the process engineer can reduce the driving force of the leak — pressure, temperature, flow — without taking the unit down, and that single action often converts a dangerous leak into a manageable one.
- Reduce pressure where the process allows. Trim the set point, divert flow to a parallel path, or temporarily reduce throughput. A sealant injected at 25 bar is a different job from one injected at 80 bar. Our pipeline emergency leak repair guide explains how pressure banding changes the technique selected.
- Reduce temperature where the process allows. Cool-down improves sealant performance and reduces thermal hazard for the technician.
- Flare or route the release safely if a small controlled bleed is preferable to uncontrolled spray.
- Reinforce the exclusion zone with physical barriers, not just cones, and assign a dedicated safety watch whose only job is to monitor the leak.
- Confirm emergency response readiness. Fire watch, water curtain, and access route for the ambulance all confirmed before any technician approaches.
- Line up isolation as a fallback. If isolation is physically possible within two hours, arrange it in parallel with the sealing response rather than choosing one path and abandoning the other.
This is the stage where well-meaning improvisation causes the most damage. Compression wraps, timber plugs, banding, hose clamps and epoxy putty are not acceptable on high-pressure hydrocarbon service. ASME PCC-2 permits composite wraps only as an engineered repair with a defined design basis, surface preparation, controlled application and post-installation inspection — a field wrap applied by hand under a live spray meets none of those conditions. On high-pressure hydrocarbon lines, do not attempt compression wraps or wooden plugs, full stop.

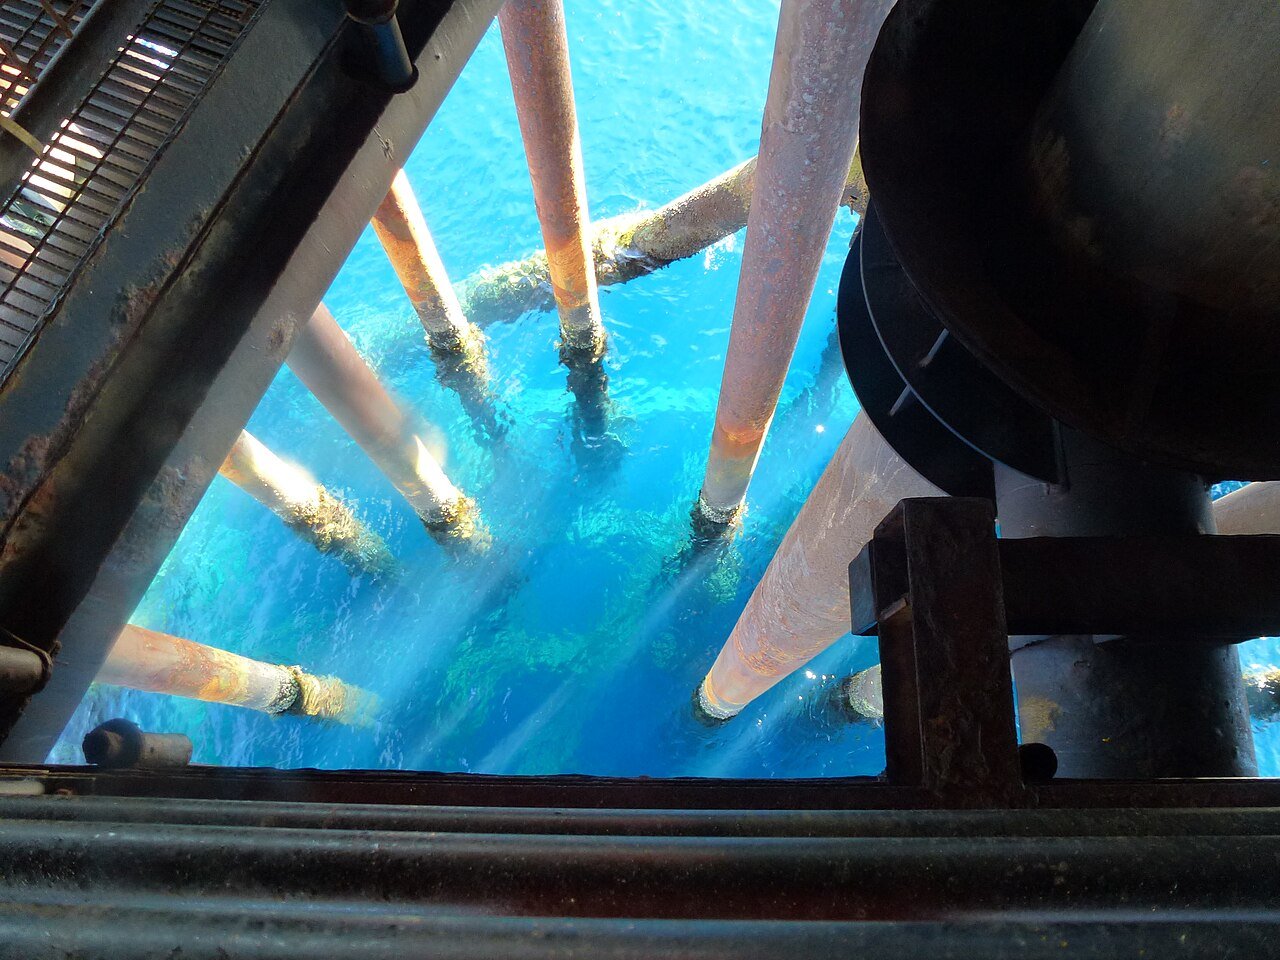
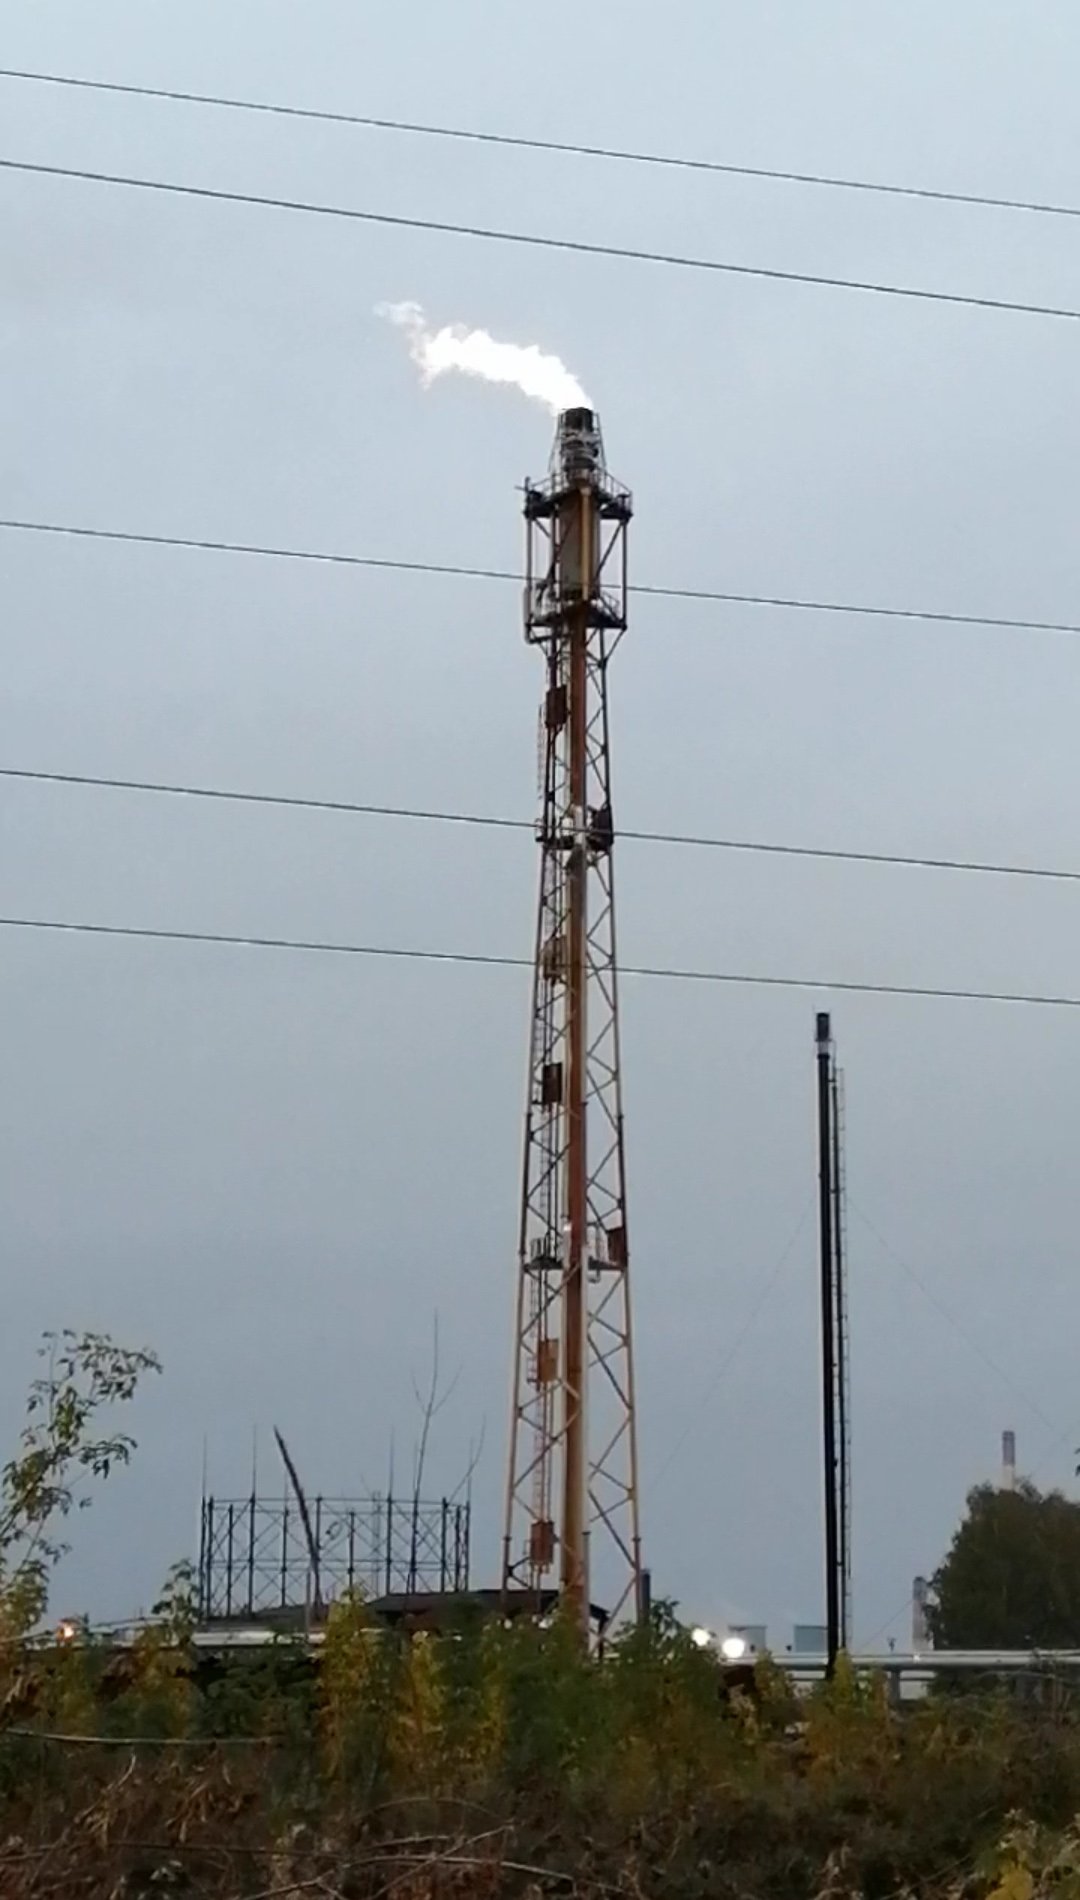
Congested, multi-level pipework defines the access problem: triage must confirm a technician can reach the leak with a safe stand-off and a clear retreat path.
The Isolate-or-Seal Decision Tree
Work down this list. The first condition that matches decides the path. Do not skip levels because a contractor is already on the phone.
- Is there an immediate threat to life or a risk of escalation?
- Yes — evacuate, isolate, depressurise and let it flare or drain to a safe system. Online sealing waits.
- No — continue to the next question.
- Is the system isolatable with double block and bleed, and can it be done within four hours?
- Yes, and the unit can accept the production loss — isolate and repair conventionally. A permanent weld repair is usually cheaper and always more durable.
- No, or isolation would create a larger hazard — continue.
- Is the pressure boundary still structurally sound?
- No, the wall is thin or distorted — isolate. A clamp on a failed wall simply moves the failure point.
- Yes — continue.
- Can the process be trimmed to a pressure and temperature the available clamp and sealant are rated for?
- No — either engineer a higher-rated enclosure or isolate.
- Yes — continue.
- Is the leak geometry compatible with an available enclosure or injection method?
- Flange ring joint, gland, bonnet, pinhole or weld defect — injectable or clampable with a stock or fabricated solution.
- Large rupture, circumferential crack, or severe wall loss over a long length — isolate.
- Do you have competent supervision and documented procedure?
- No — do not proceed. An unsupervised injection is a pressure test on your people.
- Yes — proceed to mobilisation with a defined maximum injection pressure agreed in writing.
Step 4 — Hour 1 to 4: Mobilisation and Contractor Handover
By this point you should have called a specialist. A live-leak sealing contractor will need a specific data pack to select and design the enclosure before the crew rolls. Give them the pack in a single message rather than in five phone calls.
- Line size, schedule, material, and whether it is pipe, flange, valve, tee or vessel nozzle.
- Fluid, operating pressure and temperature, plus maximum excursion values seen in the last 24 hours.
- Photographs and a short video of the leak from two angles.
- Site access constraints: gate height, road width, crane availability, lifting restrictions, permit requirements.
- Required PPE and site-specific inductions, including any contractor onboarding that must be completed before entry.
- Your nominated contact with authority to approve the isolation decision and the maximum injection pressure.
Response time is a function of the data you supply. A crew that arrives with the wrong clamp because the line size was mis-stated has added four hours to the job before it has opened a single fitting.
Who Does What: Response Responsibility Matrix
| Role | Minute 0–10 | Minute 10–60 | Execution phase |
|---|---|---|---|
| Shift supervisor | Raise alarm, muster, define exclusion zone | Approve isolation strategy, brief the crew | Control work permit and stop-work authority |
| Panel / console operator | Confirm process state, stabilise where possible | Trim pressure and temperature, line up isolation | Monitor process trends during injection |
| Process engineer | Advise on fluid behaviour and hazard | Classify leak, set maximum injection pressure | Witness verification and sign off reinstatement |
| HSE officer | Gas testing, ignition control, safety watch | JSA review, permit to work, emergency standby | Monitor atmosphere, enforce exclusion zone |
| Maintenance planner | Confirm isolations available, hand tools on site | Source clamp or enclosure, arrange transport | Record installed hardware in the maintenance system |
| Sealing contractor | Take the call, start technical screening | Design or select enclosure, mobilise crew and kit | Install, inject, hold and document the repair |
Step 5 — Execution Phase: Pre-Injection Conditions
Injection must not start until every condition below is true and recorded. The single most common failure in live-leak repair is a crew starting work on verbal permission alone.
- A written maximum injection pressure has been agreed in advance with the process engineer and does not exceed the calculated containment limit of the enclosure.
- The JSA is signed by everyone in the work party, including the safety watch.
- Gas testing is current and the atmosphere is within the permit’s stated limits.
- The enclosure has been pressure tested in place, at a fraction of operating pressure, before sealant injection begins.
- Injection guns, seals and sealant cartridges are staged at the reach distance, with a spare set available.
- Escape route, assembly point and alarm signal are confirmed and physically walked by each technician.
- The unit has been placed in a stable operating state and no shutdown, start-up, pigging or switching is scheduled during the repair window.
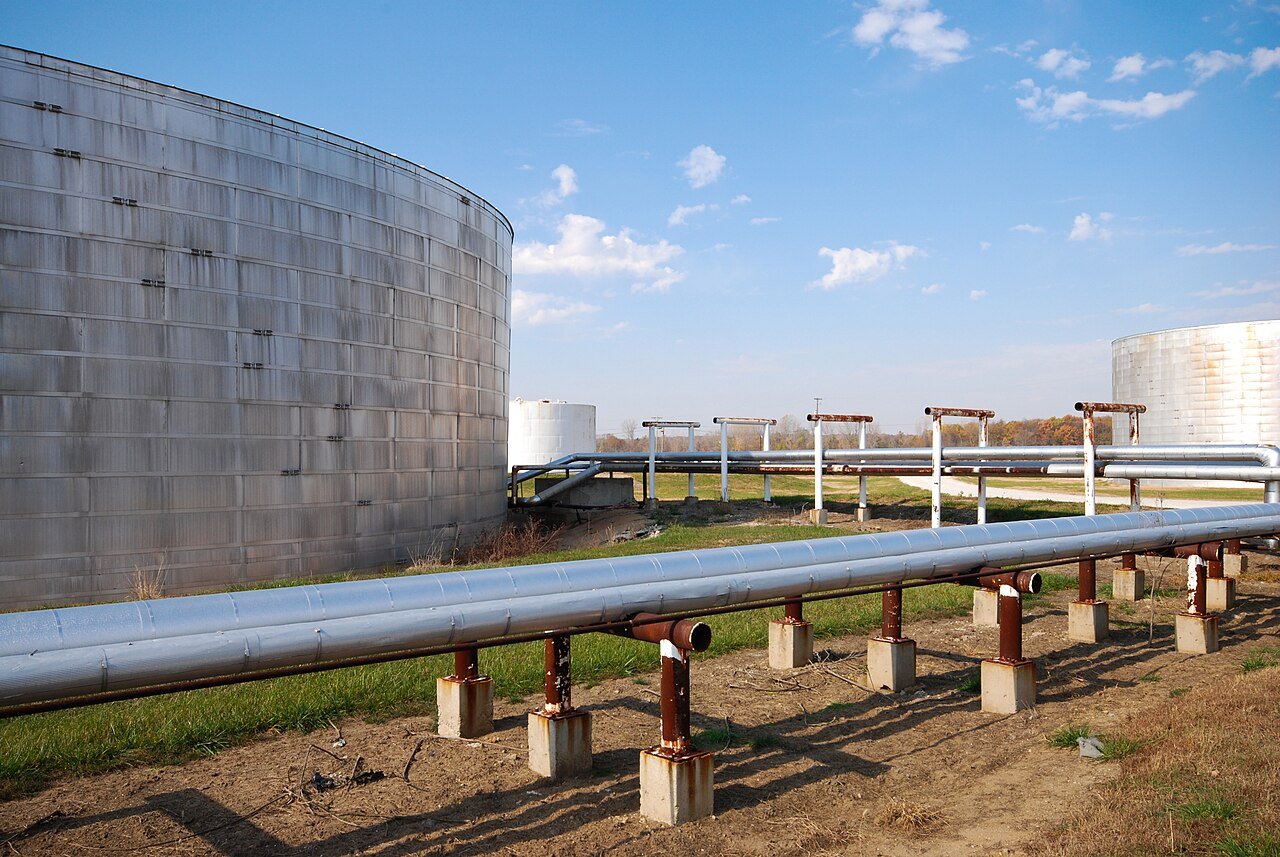
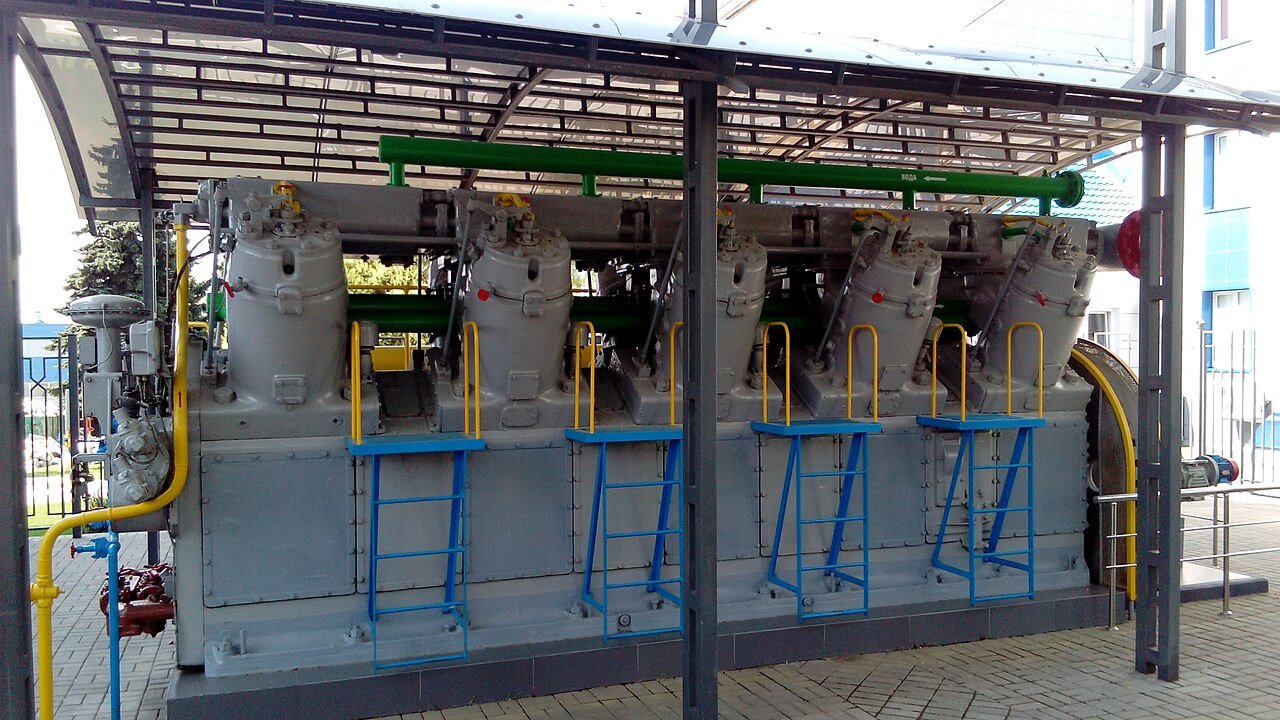
Refinery process units cannot be paused for a leak; the execution phase relies on an agreed injection pressure limit and a stable process state.
Step 6 — Verification: Proving the Seal Holds
Verification is a separate activity from sealing, with its own hold point. The system is not declared healthy because nobody can see the spray any more.
- Visual and wipe test. Inspect the full perimeter of the enclosure and the surrounding pipework after the injection pressure is released.
- Hold period observation. Monitor the repair for a defined period with the unit at its normal operating envelope, with the pressure and temperature trending recorded.
- Detector check. Use a portable gas detector or combustible gas indicator around the seal, particularly for gas-phase leaks that leave no visible trace.
- Pressure restoration in steps. Where the process allows, raise the pressure back to normal in increments and re-inspect at each step.
- Downstream effect check. Confirm that no sealant has migrated into strainers, filters, instrument impulse lines, control valves or analyser sample systems.
- Photographic record. Capture the finished installation, the injection port arrangement and the tag or serial number of the enclosure.
Step 7 — Post-Job: Documentation and Follow-Up
The repair becomes part of the asset’s history and must be traceable. Route the following into the plant maintenance and inspection system within 24 hours: the incident log with timestamps, the completed checklist and JSA, the enclosure drawing or model reference, the sealant type and batch, the maximum and final injection pressures, verification results, and photographs. Then convert the repair into a planned follow-up — schedule a wall thickness survey on the sealed location and adjacent fittings under API 570 inspection planning, and record the repair as a temporary or permanent fix in the piping line history. Teams handling very high pressure or hot services should also review our high pressure leak sealing solution notes before the next event.
Finally, run a short debrief within 72 hours. What did the first ten minutes look like? Was the data pack accurate? Did the enclosure fit first time? Did anything in the process scan change unnoticed? Every live-leak event is free training for the next one, and the plants that repeat good outcomes are the ones that write the lessons down. Crew safety discipline during these jobs is covered in more depth in our guide to high-pressure leak sealing solution.
Which Standards Govern an Online Leak Repair?
Clamp and injection repairs are engineered repairs and are expected to reference published codes. ASME B31.3 Process Piping sets the basis for assessing the repair against original design conditions, while ASME PCC-2 provides the methodology for mechanical clamps and injected sealant repairs. Composite repairs on thinning walls follow ISO 24817 for the design of the laminate. In sour service, material selection must satisfy NACE MR0175 / ISO 15156 rather than be inherited from the adjacent pipe. Non-mandatory but widely used in offshore and remote operations, the NORSOK standards inform equipment robustness expectations.
On the safety side, permit-to-work and hazard assessment practice aligns with the framework published by HSE UK and with the management expectations described by the International Association of Oil & Gas Producers. Where personnel are working at height or over water, fall protection and rescue provisions follow OSHA-equivalent requirements. What all of these have in common is documentation: a repair without a recorded design basis is not a repair, it is a gamble with a nice set of photographs.
Seven Mistakes That Turn a Small Leak into a Shutdown
- Attempting a field fix first. Tape, putty and plugs on pressurised hydrocarbon service escalate the event and remove the chance of a controlled response.
- Choosing the repair before classifying the leak. A clamp cannot compensate for a leak that is really wall loss over three metres.
- Poor data handover. Wrong line size, wrong fluid, or missing photographs delays the crew and forces improvised engineering on site.
- No agreed injection pressure. Without a written limit, the technician guesses, and a guess at the containment boundary is unacceptable.
- Ignoring sealant migration. Injected material travels; strainers, impulse lines and analysers must be checked afterwards.
- Skipping the hold period. A seal that looks dry at reduced pressure may weep at full pressure two hours later.
- Treating the repair as the end of the story. No wall thickness survey and no line history entry means the next failure arrives without warning.
Key Takeaways
- People first, product second, production third — the checklist order never changes.
- Ten minutes of containment and classification prevents hours of uncontrolled improvisation.
- If the pressure boundary is structurally compromised, isolate; a clamp is not a structural repair.
- Never attempt compression wraps or wooden plugs on high-pressure hydrocarbon service.
- No sealant injection without a maximum injection pressure agreed in writing with the process engineer.
- Verification is a hold point with its own evidence: hold period, detector check, photographic record.
- Every online seal needs a follow-up wall thickness survey under API 570-type inspection planning.
FAQ: Emergency Leak Online Repair Solution Checklist
What is the very first thing to do when a pressurised line starts leaking?
Raise the alarm, account for personnel and establish an exclusion zone based on wind direction and gas readings. Do not approach the leak to inspect it closely and do not attempt any physical fix. Capture process data and photographs from a safe distance, then escalate to the shift supervisor and process engineer. Containment and classification always come before repair decisions.
When should you isolate the system instead of sealing online?
Isolate when there is an immediate threat to life, when the pipe wall has lost structural integrity, when the fluid is toxic and the exclusion zone cannot be held, or when isolation is achievable within roughly four hours and the production loss is acceptable. Online sealing is for sound pressure boundaries that cannot be taken out of service safely.
What information does the sealing contractor need on the first call?
Line size, schedule and material; fluid, operating pressure and temperature; the leak location and type; photographs or a short video; site access and lifting constraints; required PPE and inductions; and the name of the person authorised to approve maximum injection pressure. Supplying all of it at once typically removes hours of back-and-forth before mobilisation.
How long does an emergency leak online repair take?
For a well-defined flange, gland or pinhole leak with a stocked enclosure, on-site work is commonly measured in hours rather than days — often four to twelve hours including preparation, injection and hold period. Bespoke enclosures for unusual geometry or high pressure extend the timeline because design, fabrication and testing must happen first.
What documentation should exist after the repair is complete?
An incident log with timestamps, the completed checklist and JSA, the enclosure drawing reference, sealant type and batch, maximum and final injection pressures, verification results and photographs. These records go into the maintenance management system and the piping line history, and they trigger a follow-up wall thickness survey at the repaired location.
Leak still running and the plant is on limited time? Our response desk is staffed around the clock. Message the emergency team on WhatsApp or send a site brief with the line ID, medium, operating pressure and temperature, and we will confirm scope before mobilisation.
Conclusion
A checklist is not bureaucracy, it is compressed experience. The protocol above — ten minutes of containment, twenty minutes of triage, thirty minutes of stabilisation, mobilisation with a complete data pack, injection under a written pressure limit, and an independent verification hold point — is the sequence that separates a controlled repair from an uncontrolled incident. It also gives your team something to practise: run the checklist as a tabletop exercise once a quarter, and the real event becomes routine rather than novel.
Standards give the framework, but execution depends on people who have done it before, with the right enclosure and the right sealant on site. If your site needs a emergency leak online repair solution at short notice, or you want this checklist adapted to your own piping and valve register, the fastest route is a short technical call before the emergency happens. Reviewing how a 24-hour emergency leak online sealing response is structured will also help you pre-agree mobilisation terms while there is still time to negotiate calmly.